Publishing a Godot 4 Plugin for Web APIs
Game developers often face a common challenge: integrating a web-based game with an external platform’s API. Whether it’s for leaderboards, achievements, or platform-specific services, the connection between your game and the outside world needs to be robust and clean. While quick-and-dirty solutions might work for a prototype, the professional approach is to build a custom Godot plugin—a reusable, well-structured interface that simplifies communication and keeps your project organized.
This guide provides a complete, step-by-step walkthrough of that entire process. Based on a real-world project—a plugin developed to integrate with the Legends of Learning platform—we will cover everything from initial project setup and coding the JavaScript bridge to the final, crucial steps of polishing and publishing your work in the Godot Asset Library for the world to use.
1. Laying the Foundation: Your Plugin’s Core Structure
Before writing a single line of game logic, it’s essential to understand that a successful Godot plugin demands a specific and rigid file structure. This isn’t just a best practice; it’s how Godot’s editor discovers, registers, and manages the plugin. Getting this foundation right is non-negotiable, as it prevents common failures such as the plugin not appearing in the Project Settings or its custom nodes/singletons being unavailable to your scripts.
A. The Essential Folder Structure
All Godot plugins must reside within an addons/ folder at the root of your project. Inside this folder, you’ll create a new directory for your plugin, which will contain all its necessary scripts and configuration files.
While an example/ directory is optional, it is highly recommended as a best practice to provide a clear demonstration of how to use your plugin.
[Project Root]
├── addons/
│   └── your_plugin_name/
│       ├── plugin.cfg
│       ├── plugin_script.gd
│       └── ExternalApiWrapper.gd
├── example/
B. The File: The Heart of Your Plugin
The plugin.cfg file acts as the manifest for your plugin. It’s a simple text file that tells the Godot editor critical metadata, including the plugin’s name, its purpose, the author, its version, and—most importantly—the path to its main script. Without this file, Godot will not recognize your directory as a valid plugin.
[plugin]
name="Your plagin name"
description="Your plugin description."
author="Your Name"
version="1.0.0"
script="res://addons/your_plugin_name/plugin_script.gd"
With the plugin’s skeleton now correctly in place, we can move on to building its core communication logic.
2. The Core Logic: Communicating with JavaScript
The central technical challenge of integrating a Godot game with a web page is that the game logic (GDScript) and the browser’s JavaScript environment exist in separate worlds. To pass information between them, we need a “bridge.” Godot provides an official and powerful tool for this very purpose: the JavaScriptBridge.
A. Designing the API Wrapper Singleton
Our strategic approach is to wrap all communication logic inside a Singleton, also known as an Autoload in Godot. This design pattern offers a significant advantage: it ensures our API wrapper is initialized the moment the game starts and makes its functions globally accessible from any script in the game. This eliminates the need to pass around object references and provides a clean, centralized point for managing all external API calls. By making it a Singleton, we guarantee that there is one and only one instance managing the JavaScript bridge, preventing conflicting messages or multiple signal connections.
B. Implementing the Bridge
Our wrapper script will perform two key tasks: first, it will package Godot data (like Dictionaries) into JSON strings to send to JavaScript; second, it will receive JSON strings from JavaScript, parse them back into Godot data, and broadcast them to the rest of our game.
The core design of our wrapper follows a clean, powerful pattern: Methods are used to send commands out to JavaScript, while Signals are used to broadcast events in from JavaScript. This decouples the API logic from the rest of your game code.
Let’s deconstruct the key components of the ExternalApiWrapper.gd script:
**signal data_received**: This signal acts as a decoupled broadcaster. When a message arrives from JavaScript, the wrapper emits this signal with the data payload. Any other node in the game can simply connect to this signal to react to API events without being tightly coupled to the wrapper itself.**_init()**function: As soon as our Singleton is initialized, this function establishes the connection. It subscribes to theJavaScriptBridge’s built-inmessage_receivedsignal, ensuring our_handle_js_messagefunction is called whenever data arrives from the browser.**send_init_message()**function: This is a practical example of sending data to JavaScript. It constructs a dictionary payload, converts it to a JSON string usingJSON.stringify(), and then executes a JavaScript command in the browser usingJavaScriptBridge.eval().**_handle_js_message()**function: This is the designated receiver for all incoming messages. It takes the raw string from JavaScript, parses it back into a Godot Dictionary, and then emits thedata_receivedsignal, delivering the payload to any interested listeners in the game.
# File: external_api_wrapper.gd (Set as Autoload/Singleton)
extends Node
class_name ExternalApiWrapper

# Signal for receiving data from the JS environment
signal data_received(payload: Dictionary)

func _init():
    # Initialize the connection with the JavaScriptBridge
    JavaScriptBridge.get_singleton().message_received.connect(_handle_js_message)

# Method to send data to the external API
func send_init_message():
    var payload = { "command": "INIT", "data": "godot_ready" }
    # Send the request through the JSBridge
    JavaScriptBridge.eval("parent.postMessage(" + JSON.stringify(payload) + ", '*');")

func _handle_js_message(message: String):
    # Process the incoming JSON and emit the signal
    var parsed_data = JSON.parse_string(message)
    if parsed_data:
        data_received.emit(parsed_data)
Having working code is a great start, but it’s only half the battle. To create a truly great plugin, we must focus on its professional presentation and usability.
3. The Professional Polish: Preparing for Public Release
The difference between a personal script and a community-valued plugin lies in its presentation, documentation, and ease of use. These non-code elements build trust with other developers and are essential for turning your functional tool into a professional-grade asset.
A. Crafting an Essential
The README.md file is your plugin’s user manual, marketing page, and first point of contact for any potential user. A well-crafted README is non-negotiable.
Based on best practices, a good README must contain:
- Clear Identity: Use the full, professional name of your plugin (e.g., “… SDK Integration Plugin for Godot”). This avoids ambiguity and helps users find exactly what they need.
- Clear Installation Steps: Provide a simple, direct guide for users. This includes instructing them to activate the plugin in Project > Project Settings > Plugins and, crucially, to use feature checks like
OS.has_feature()in their code. This prevents your game from crashing with script errors when run in the editor or on any non-web platform where theJavaScriptBridgeis not available. - Ethical Acknowledgements: In a community-driven ecosystem, giving credit is vital. If your plugin is an update or is based on a previous work, include an “Acknowledgements” section with links to the original author and repository. This reinforces community ethics and shows respect for others’ work.
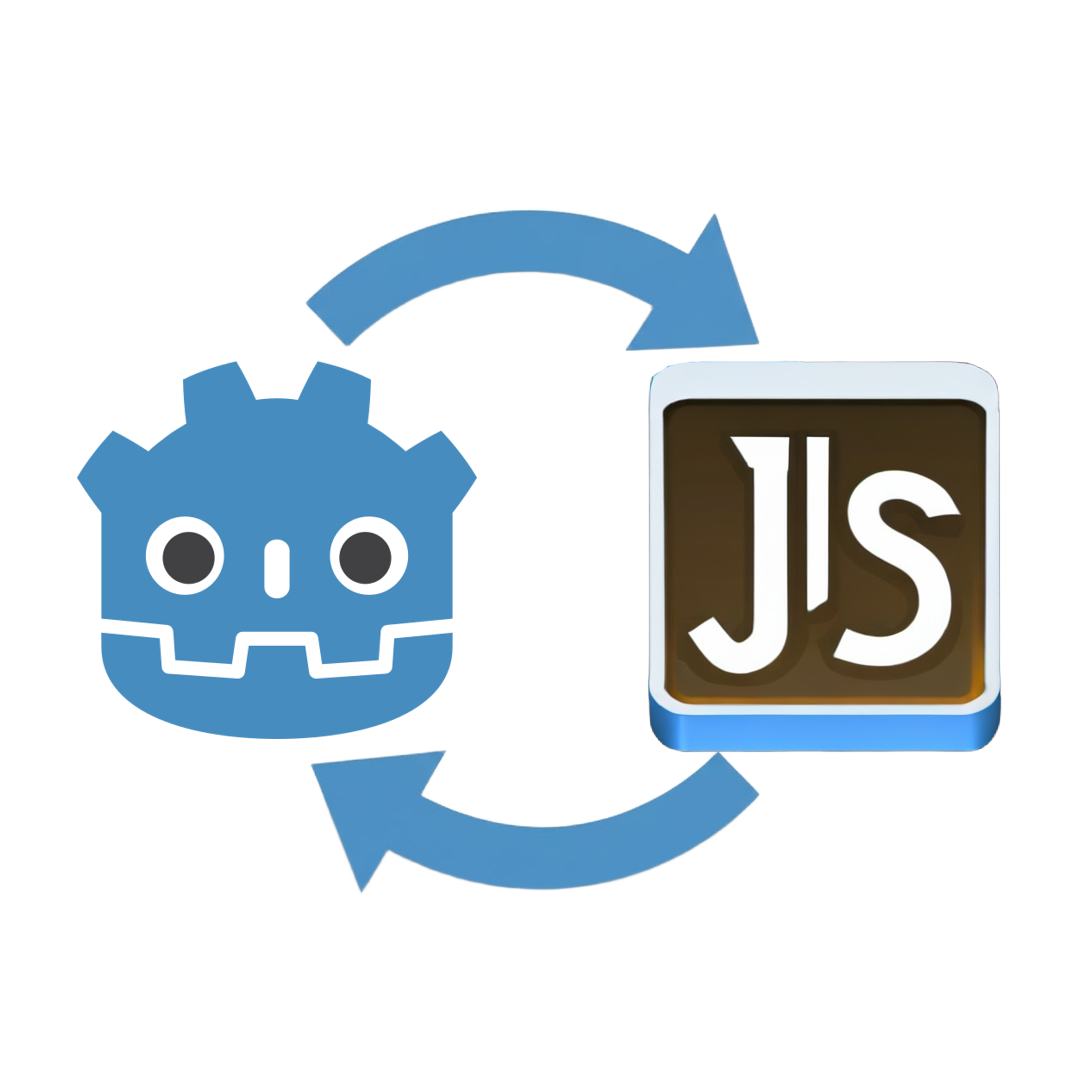
B. Designing a Representative Logo
A custom logo is crucial for visual recognition, especially in the crowded Godot Asset Library. A good icon makes your plugin look professional and instantly communicates its purpose.
An effective plugin icon has a few key characteristics:
- Format: It must be square to display correctly in the Asset Library and Godot editor.
- Content: It should be representative of the plugin’s function. For an API integration plugin, a great approach is to combine the Godot logo, the logo of the external service, and arrows to signify the bidirectional data flow between them.
With these assets prepared, the plugin is ready for the final steps: versioning and distribution.
4. The Launch: Sharing Your Work with the World
Now for the final hurdle, where many developers stumble: sharing your work with the world. Using proper version control and understanding the specific requirements of the Godot Asset Library are the last hurdles to cross before your plugin is in the hands of other developers.
A. Versioning with GitHub Releases
To ensure users can download a stable, tested version of your plugin, you must use version control tags to create formal releases. Adhering to semantic versioning (e.g., v1.0.0 for an initial stable release) is a standard and highly recommended practice.
You can create and push a Git tag from your command line:
git tag -a v1.0.0 -m "Initial stable release for Godot 4"
git push origin v1.0.0
Once the tag is pushed to your remote repository, navigate to the “Releases” tab in your GitHub UI and create a new release from that tag, adding a title and a description of the changes.
B. Conquering the Godot Asset Library Submission
Submitting to the Asset Library is critical for visibility.
The Most Important Field: Download URL/Commit
This is the single most critical field in the submission form and the source of most rejections. You must not use the GitHub repository URL in this field. The Asset Library does not clone the repository; instead, it downloads a specific version. To do this, it requires the full 40-character Git commit hash (SHA) associated with your release tag.
The Asset Library requires the full commit hash to ensure immutability. Unlike a branch or tag, which can be moved, a commit hash permanently and uniquely identifies the exact state of the code, guaranteeing that every user downloads the identical, tested version of your plugin.
Follow these steps precisely to get the correct hash:
- Navigate to the
v1.0.0release you created on GitHub. - Click on the commit or tag name to view its unique page.
- On that page, copy the full SHA hash (it will look something like
f8b29694bc0fb7bf4811c6dad8f32cb484dcd065). - Paste only this hash into the “Download URL/Commit” field on the Godot Asset Library submission form.
By following these distribution steps, your plugin is transformed from a personal project into a professional and easily accessible resource for the entire Godot community.
Conclusion
This guide has walked you through the complete journey of creating a Godot plugin—from establishing the fundamental file structure and coding the core JavaScript bridge logic to applying professional polish and navigating the final distribution process.
The main takeaway is that a high-quality, community-ready Godot plugin requires more than just functional code. It demands thoughtful documentation, clear presentation, and a solid understanding of the ecosystem’s distribution platforms like GitHub and the Godot Asset Library.
You now have the complete blueprint to create professional, reliable plugins. Use it to build the tools you need, share them with the community, and help make the Godot ecosystem stronger for everyone.