Automating GitHub Issues from your GDD via CLI
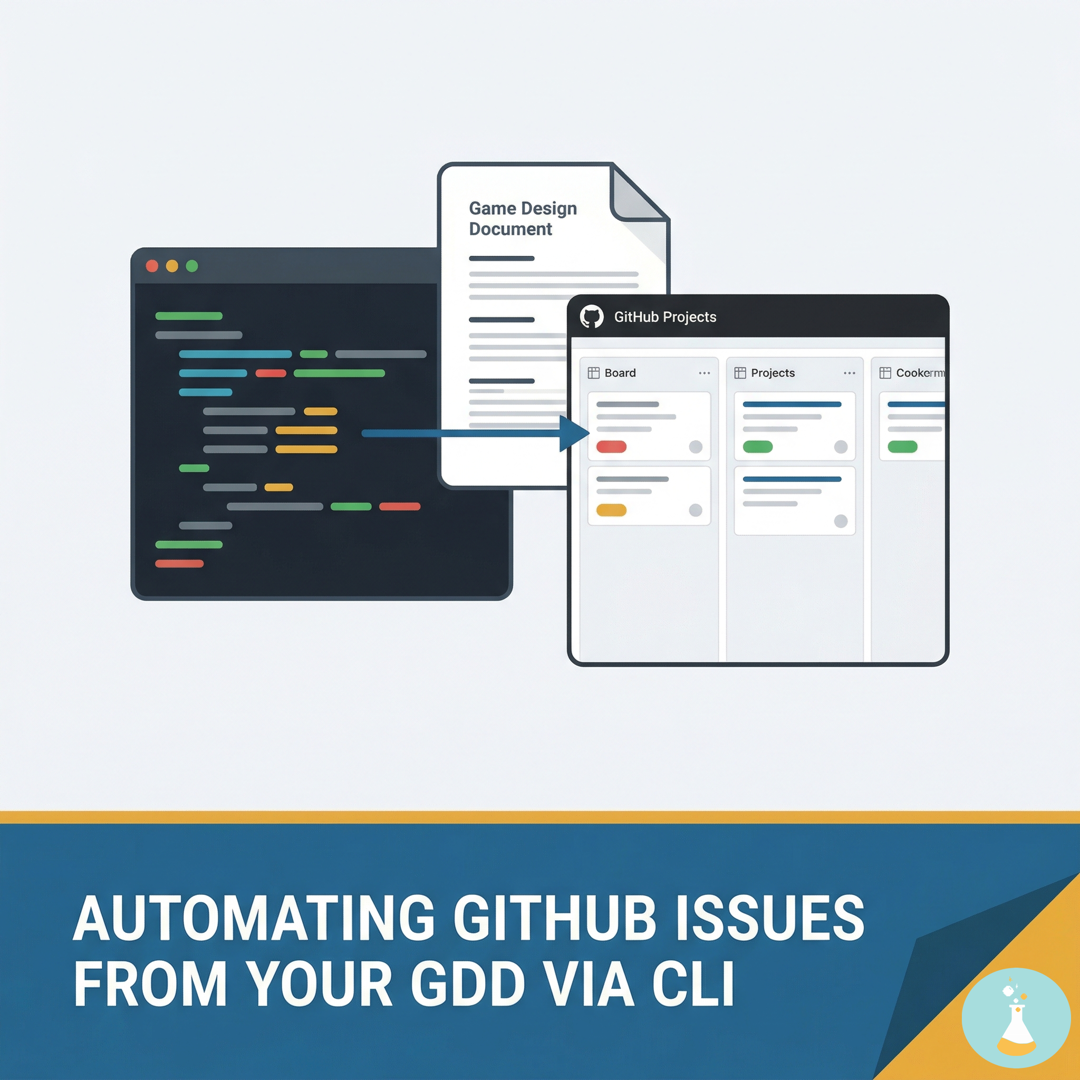
You’ve finally locked in your Game Design Document (GDD). The core mechanics are defined, the narrative is structured, and the asset lists are ready. The next logical step is to map these tasks into your tracker—in this case, GitHub Projects.
However, GitHub lacks a native, out-of-the-box import tool to bulk-create issues from a document. Manually copy-pasting hundreds of tasks, assigning labels, and writing out acceptance criteria is a massive drain on production time.
In this post, we are going to build a lightweight, automated pipeline to create GitHub issues directly from the command line using a custom batch script.
The Prerequisites: GitHub CLI & Authentication
Before writing any automation, we need to establish a secure connection between your local machine and your GitHub repository.
1. Install GitHub CLI
First, download and install the official GitHub CLI (gh). This tool allows us to interact with GitHub’s API seamlessly from the terminal.
2. Generate a Personal Access Token (PAT)
Go to https://github.com/settings/profile. And here navigate to Developer Settings > Personal Access Tokens > Fine-grained Tokens > Generate New Token
You will need a token with the correct setup and permissions.
- Ensure you add Issues permission type and grant
Read and Writepermissions. - If you encounter the error
GraphQL: Could not resolve to a Repository with the name 'TheDigitalSpell/thekfactor', it is almost always an Resource owner mismatch. Ensure the token is generated by the actual owner of the repository. Remember: an Organization repository requires different token scopes and SSO authorizations compared to a standard User repository.
Finally, copy generated token and create a new environment variable called GITHUB_TOKEN
3. Authenticate Your Terminal Open your command prompt and log in:
gh auth login
Verify your connection status to ensure everything is properly linked:
gh auth status
The Core Automation Script
We have prepared a baseline batch script to handle the heavy lifting. You can review and pull the base code from this Gist:
While you can manually extract tasks from your GDD to populate this script, you can also use AI to parse your GDD and generate this exact batch format. (Note: Always review AI-generated drafts to ensure the acceptance criteria align with your actual technical needs).
Customizing the Pipeline
To make this script work for your specific game, you need to configure three main sections.
1. Target Repository Setup
The script needs to know exactly where to push these tickets. Locate line 5 in the script and update the repository variable.
- Change this:
set REPO=YourUser/YourGameRepo - To your actual target:
set REPO=MariaDev/MyIncredibleGame
2. Label Bootstrapping (Optional but Recommended)
Under the section :: --- STEP 1: Label Bootstrap ---, the script programmatically creates the necessary tags (e.g., “Epic: Core Gameplay”) to keep your board organized.
If your game relies on different architectural pillars (or if you are building a web companion app), adjust the strings accordingly:
gh label create --repo "%REPO%" "Epic: UI/UX" --color "0075ca" --description "All frontend and HUD tasks" --force
Pro Tip: Always keep the --force flag at the end. This prevents the script from crashing if you run it multiple times and the label already exists.
3. The Issue Creation Block
This is the engine of the script. Delete the placeholder examples from :: Example 1: Core Gameplay Task down to :: --- STEP 3: Cleanup ---.
Replace them with the following “Master Block” for every unique task you need to create. Copy and paste this block sequentially:
:: [COPY THIS BLOCK FOR EACH NEW ISSUE]
echo Creating Ticket...
(
echo ### Description
echo Write your detailed task description here. You can use multiple "echo" lines.
echo.
echo ### Acceptance Criteria
echo - [ ] Specific requirement 1.
echo - [ ] Specific requirement 2.
) > temp_body.txt
gh issue create --repo "%REPO%" --title "YOUR TITLE: Write it here" --label "enhancement" --label "Your Custom Tag" --body-file temp_body.txt
How the Master Block Works:
- The
(echo ... ) > temp_body.txtwrapper: Everything inside these parentheses is temporarily written to a text file. This is a clean way to format multiline markdown (like checkboxes and headers) via the command line. Ensure every line starts withecho. To create a blank line, useecho.(echo followed immediately by a period). - The API Call (
gh issue create): This executes the push to GitHub. It assigns the--title, reads the markdown from our temporary file via--body-file, and attaches as many--labelflags as you need.
By chaining these blocks together, you can populate an entire Agile sprint board in the time it takes to press Enter.
Are you automating your sprint planning? Share your custom scripts or CLI tips in the comments below.
See you in the next digital spell!